While getting out of the house to go to the spa is a great way to relax, there are many spa treatments that you can do yourself at home. When allergies flare, or you’re feeling stressed and need a bit of pampering, it’s important to take time for yourself and put self care as a top priority. Going to the spa regularly can sometimes be hard with busy schedules and demands on your time – that’s why we’ve put together this guide to help you bring the spa to your home. Beyond just a face mask and a long soak, have you pampered yourself with a massage at home? There are many great benefits that can be seen from lymphatic drainage massages — and you can perform one yourself with just a few tools and techniques. We’ll walk you thoughtfully through the benefits and how to do this from the comfort of your own bathroom.
What is a Lymphatic Drainage Massage?
A lymphatic drainage massage is a specific facial massage that stimulates the natural process of “draining” fluid from your lymph nodes. Targeting lymph nodes, which are part of your body’s lymphatic system, which removes extra fluid and waste from your body. Massaging your face and neck lymphatic system helps to naturally get rid of toxins being stored. After the toxins are drained, your lymphatic system will start to bring new nutrients to the cells in your face. Once this process is complete, you can see a variety of benefits including:
- Stronger immune system
- Improved skin firmness
- Better overall mood
- More defined, sculpted jawline
- Glowing complexion
Hope herself loves doing lymphatic drainage massages at home to embrace all of the great benefits including depuffing the face and reducing inflammation. It’s a skincare ritual worth practicing and she shares her own personal routine for how to do this at home using MUTHA™ Face Oil.
Step-by-Step Guide for a Lymphatic Drainage Massage
Doing a lymphatic drainage massage at home can be easy by following these simple steps to get started. You can use your hands to perform this massage or use a gua sha tool, based on your own preferences. Try out tools and oils to see what gives your body the best results.
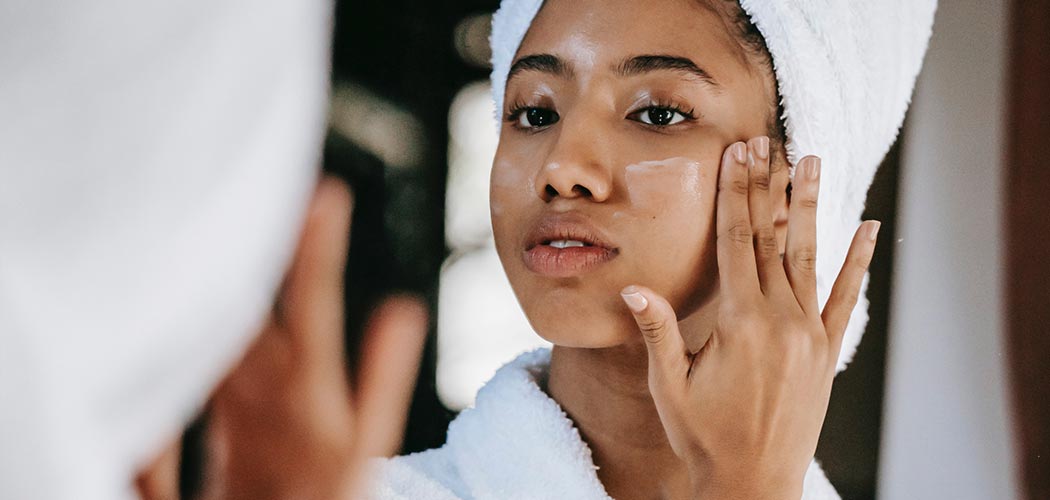
Step 1: Starting with cleansed skin, grab your favorite face oil and apply 4-6 drops of the oil on your hands to warm it, then gently pat the oil to your face and neck.
Step 2: Search for your right and left lymph ducts at the base of your neck just beneath your collarbone – these spots will feel hollow and soft. Cross your arms and open up right underneath your collarbone by pumping to open up your lymph system. (Watch the video above, to see Hope demonstrate this technique.)
Step 3: Take your fingertips and gently push up the skin from your collarbone to underneath your chin and then back down to your collarbone.
Step 4: Switch focus to your face, and on your forehead area gently push up from your eyebrows to your hairline with gentle strokes. Then move to the skin around to your temples, massaging the skin outward towards your hairline. Repeat this motion 3-5 times.
Step 5: Next, take your ring fingers to push and hold the skin at the inner edge of your eyebrow, the middle of the brow, and then the outer brow pausing in each position for a couple of seconds. Repeat this motion 3-5 times.
Step 6: Still using your ring fingers, place them below your eyes and roll them inwards to the inner corner of your eyes. Repeat this motion 3-5 times.
Step 7: Using your first finger knuckle, move down the bridge of your nose, scoop underneath your cheekbones, and pull out all the way to where your ears meet your jawline. Repeat this motion 3-5 times.
Step 8: Moving to your neck, use your entire hand to massage up to under your chin. Place both hands side by side at the base of your neck and move the skin upwards. Repeat this motion 3-5 times.
Step 9: Using the “C part” crevice of your hand between your thumb and first finger, put your thumb underneath your jawline to cup the jaw to scoop up and out. This motion should extend all the way behind the ear. Use your other arm to do the other side of your face. Repeat this motion 3-5 times.
Step 10: To finish up, go over all parts of your skin by gently tugging on the skin but barely touching to continue to drain the toxins and inflammation from your face to flush it out.
Once you’ve completed this at-home facial, you should be left with glowing and plumped skin ready to take on the day. Feel free to add this to your daily self-care routine to feel refreshed, relaxed, and ready to take on the world. Learn more about some of Hope’s favorite skincare routines by reading more or subscribing to her YouTube channel.